

Yes, I know. This title doesn’t make sense. You can say it’s a “Judi-trying-to-be-silly” title. But really, it’s the photo of the card that makes you think, “Oooo. Looks fun.” Read on to see how it’s created.
- Gerber Daisy
- Flower Power
- Dots
- Poppy Stamen
- Thank You Stretched
- Cardstock Postcard
- Colored Paper
- Dye Ink Pads – Pale Orange, Sandalwood
- Pigment Ink Pad – Orange
- Permanent Ink – Dark Brown
- Clear Embossing Powder
- Gold Twinkle™ Embossing powder
- Embossing Heat Tool
- Square Note Card
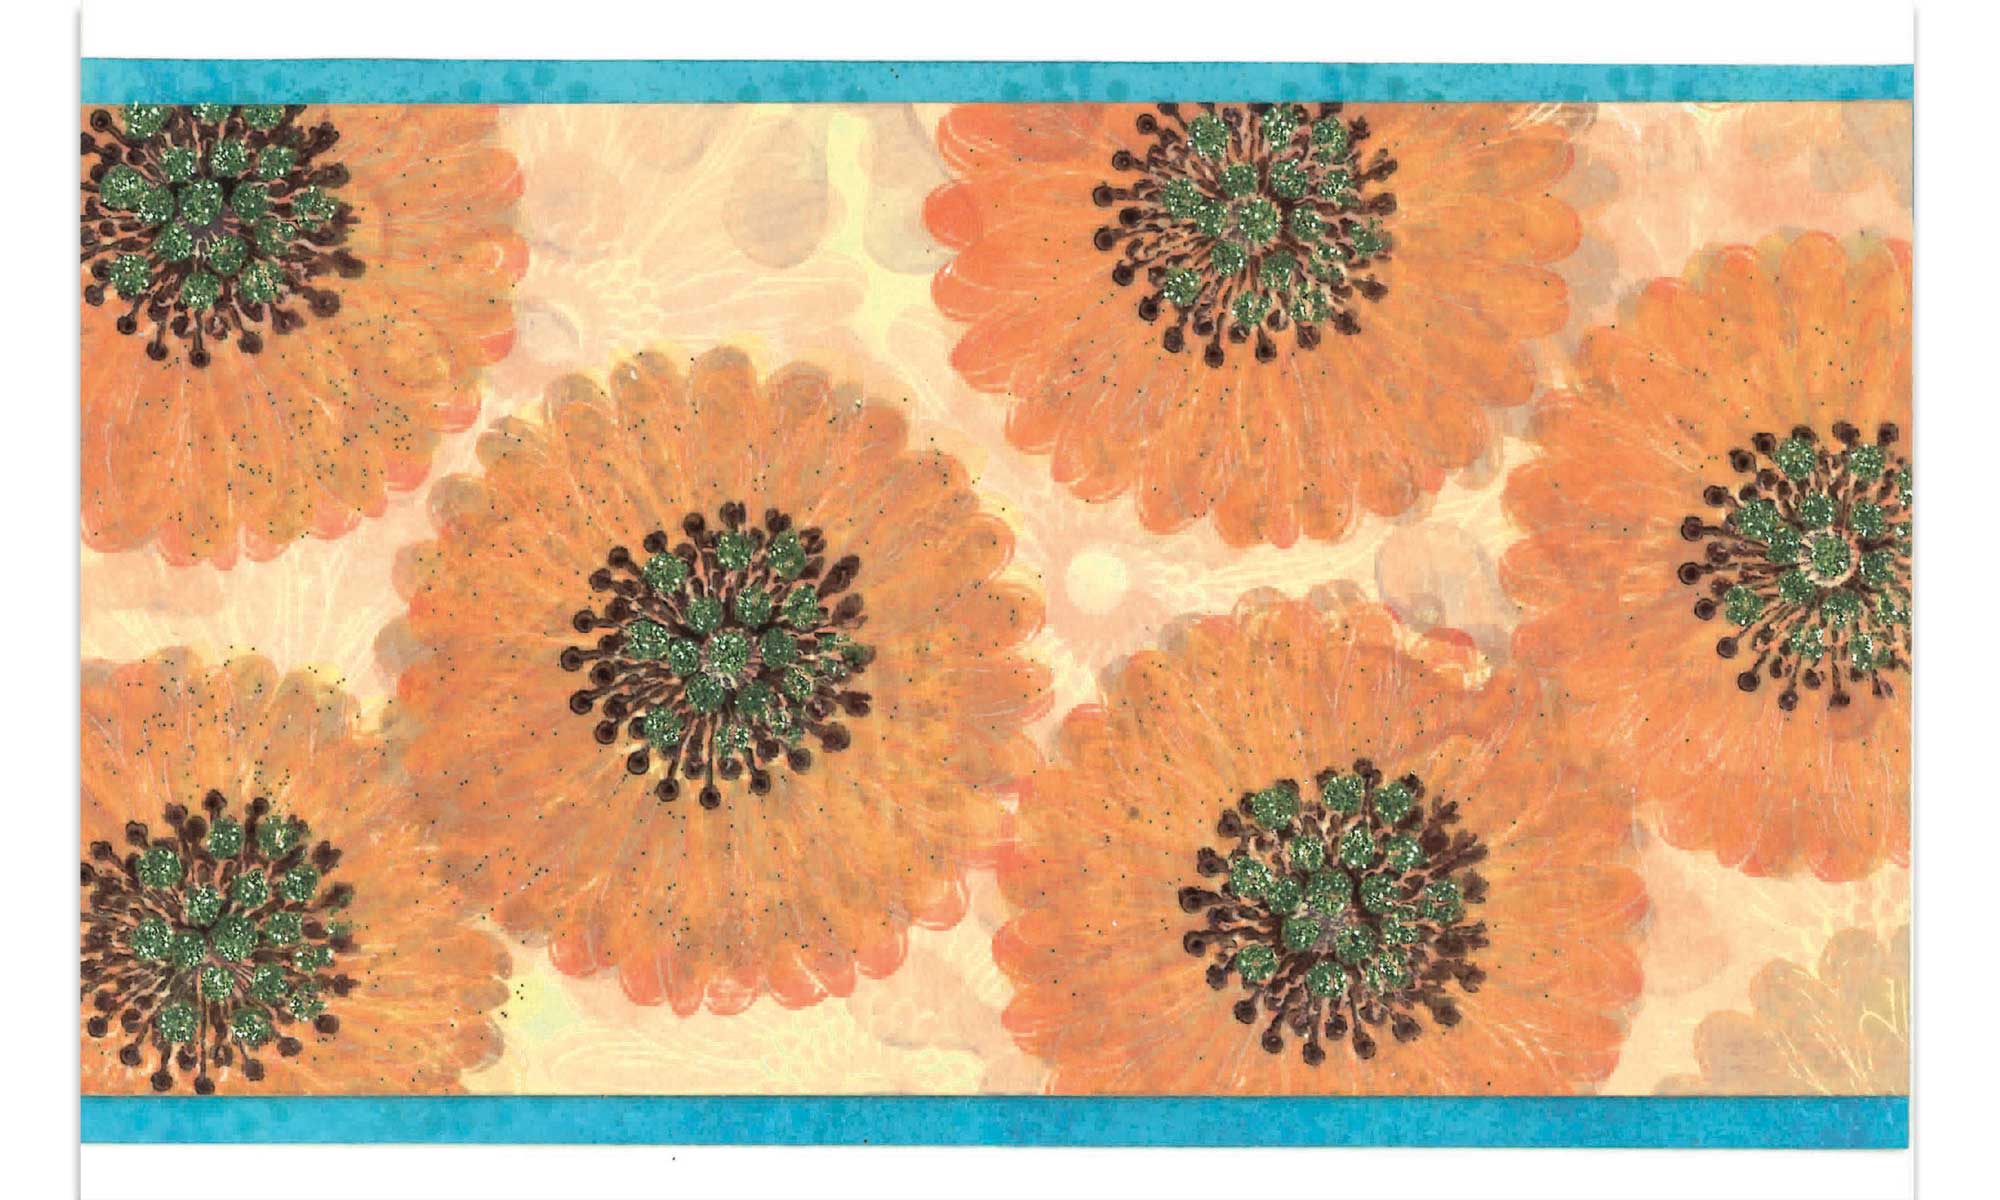
- Stamp Flower Power image randomly around a postcard with Sandalwood dye ink. For best results, stamp some images off the edges of the card.
- Stamp Gerber Daisy randomly onto the postcard with Pale Orange dye ink. It’s ok to overlap the stamping. Let dry.
- Stamp and emboss the Gerber Daisy with Orange pigment ink and clear embossing powder.
- Stamp the Poppy Stamen in the center of the Gerber Daisy with permanent Dark Brown ink.
- Stamp and Emboss Dots image with the Orange pigment ink and Gold Twinkle™ embossing powder. Be careful to not overheat.
- Cut to approximately 3 inches tall and match the width to the base square card.
- Layer onto colored paper cut to 3-1/4 inches tall to create a 1/8 inch border.
- Layer onto a square folded notecard.
- Finally stamp and emboss the Thank You with Gold Twinkle embossing powder.